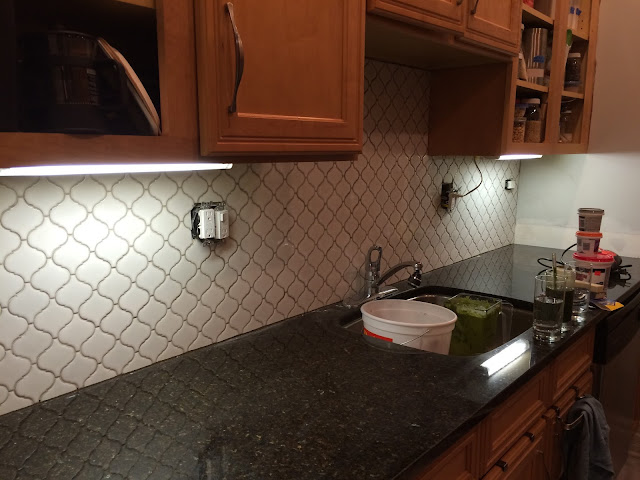
The mortar required 24-72 hours of setting time before
grouting, so we took some down time midweek. We chose a non-white grout for less obvious
maintenance. Because our building is
aging like a fine wine and located near the original lakefront (see: Lincoln
Park construction) on sandy terrain, it’s important to us that the inevitable
settling not ruin our hard work and require re-grouting, as in our ten year old
bathtub surround. A fantastic product on
the market today is admixture, which apparently gives the grout some kind of
flexibility for this situation. For our joint size (1/16”), we actually
needed unsanded grout, which is not what I purchased initially as we’d thought
we’d use the preset mesh spacing, but fortunately we learned this before we
started.
We purchased a mere five pounds of unsanded grout and a quart of admixture, at the Tile Shop, as well as
some color-matched caulk to surround the tile.
Alex and I worked on this step together, scaling down and preparing
small amounts of grout working around the kitchen. We’d combine 20 oz of grout (by weight) with 6 oz of
admixture, then mixed in a flat-bottomed bucket with a genius contraption, a
large mixer that fit into the driver.
The goal was for it to reach a toothpaste consistency, then rest five
minutes and mix again before spreading.
 At first I was panicked, because it looked darker than it
should and I wasn’t seeming to get it in the joints properly, but then Mr
Awesome came along behind me with a sponge and wiped the excess off and it
looked great. As it dried it looked
better. We are super rookies but felt
pretty good by the time it was finished, really too late for a school night :/
 After a few days of curing, I busted out the various pastes we’d obtained and took to the problem areas. Where the 4” backsplash had been, on the
three shorter walls, I patched and sanded multiple layers with a flexible
spackle, needing to build out some with mesh tape closest to the door. After that was relatively under control, I
laid some white paintable caulk between the counter and walls. This also took several layers as I was afraid
of adding too much and making a mess. In
this aisle, I’d also found caulk remover, and thought this would be a great
time to remove from the sink that had broken down over the ten years since the
reno, and was pleasantly surprised by the effectiveness without fumes. We let it dry out overnight and Alex caulked
the seam with a clear silicone caulk, that is supposedly antimicrobial and will
last for ten years and is basically invisible here. Alex followed up with the color-matched unsanded caulk around the tile, but we moved forward in other areas before making decisions on the trim and other finishing decisions so there's not a lot to show yet!


Love your blog! Now I understand so much more about this project. I noticed that without any tile on the side wall, it does seem to add to the new open feeling of the room. Great job all around!
ReplyDelete